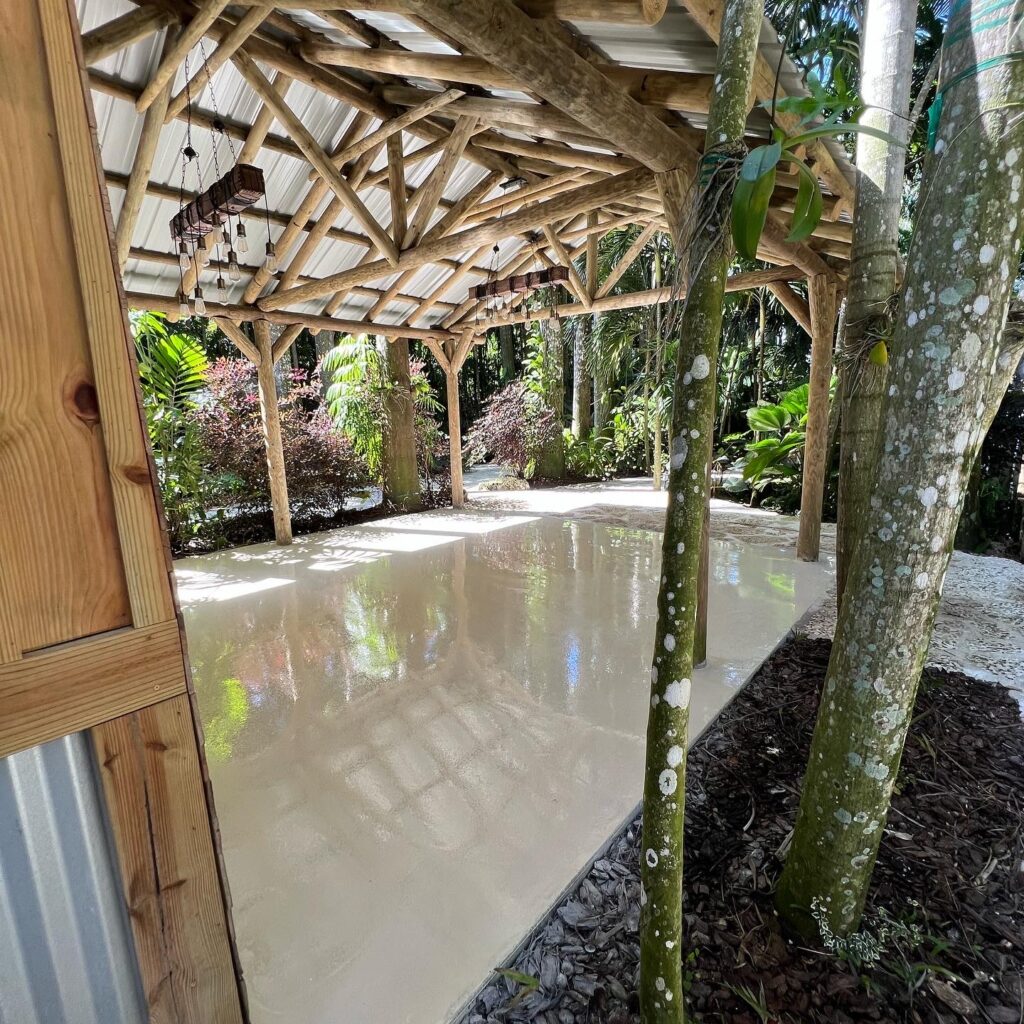
Introduction
When it comes to enhancing both the aesthetics and functionality of a floor, epoxy flooring is an increasingly popular choice. Known for its resilience, easy maintenance, and stunning finishes, epoxy flooring is widely used in residential garages, commercial spaces, and industrial environments. Understanding the installation process is essential, as each stage plays a pivotal role in achieving a flawless, durable finish. From surface preparation to curing, every step must be carefully executed to ensure the epoxy adheres properly and performs optimally over time. In this guide, we break down the epoxy installation process, highlighting how meticulous attention to each phase results in a long-lasting, beautiful floor.
Step 1: Surface Preparation
Surface preparation is arguably the most crucial step in the epoxy installation process. A well-prepared surface ensures that the epoxy will bond effectively, enhancing both durability and appearance. This phase starts with thoroughly cleaning the floor to remove any dust, dirt, oils, or other contaminants. For commercial or garage floors, pressure washing may be necessary to remove stubborn grime, while indoor spaces can usually be cleaned with a strong degreaser and scrub.
After cleaning, any cracks, chips, or surface imperfections are filled or patched. Epoxy flooring requires a smooth, even surface for optimal bonding and appearance, so this step is essential for a quality finish. Concrete floors are prone to small imperfections and cracks that can worsen over time, and addressing them during the prep phase prevents these flaws from impacting the final look. For deep cracks or significant damage, a concrete filler or patching compound is applied, which is then allowed to dry before proceeding.
In some cases, surface grinding or shot blasting is used to roughen the floor slightly, helping the epoxy adhere. This method removes any previous coatings or paints, as epoxy requires a porous surface for a strong bond. Grinding creates a surface that the epoxy can penetrate, ensuring it forms a lasting connection with the substrate. Once grinding or cleaning is complete, the surface is primed with a special epoxy primer. This primer serves as a preparatory coat, providing a foundation that enhances the adhesion of the epoxy layers to come. Proper surface preparation cannot be skipped, as it sets the stage for the entire installation, ensuring the epoxy will adhere correctly and maintain its finish over time.
Step 2: Application of the Base Coat
With the surface prepared, the application of the base coat begins. This step involves mixing epoxy resin with a hardener, a chemical reaction that starts the curing process. Epoxy is a time-sensitive material, and once mixed, it must be poured and applied swiftly to ensure an even, seamless layer. This step is often done using rollers or squeegees to spread the epoxy across the floor.
The base coat acts as the foundation of the flooring system, providing durability and resilience. An even, bubble-free application is essential, as any imperfections in the base coat can affect the appearance and performance of the finished floor. To achieve this, installers work carefully, checking for air bubbles or inconsistencies and smoothing them out as they go. Epoxy has a self-leveling property, which means it spreads to create an even surface. However, careful attention is still needed to avoid pooling or uneven thickness in any areas.
The base coat is crucial as it supports the entire flooring structure. Once applied, it typically requires several hours to settle and begin bonding with the primer and prepared surface. During this time, it’s essential to avoid disturbing the area, as any movement or dust can disrupt the smoothness of the coat. By establishing a solid foundation, the base coat prepares the floor for decorative or additional layers, creating a resilient base that enhances the longevity of the epoxy flooring.
Step 3: Adding Design Elements (Optional)
For those looking to add a custom touch to their epoxy flooring, design elements can be incorporated into the base coat. These decorative additions include color flakes, metallic pigments, and quartz sand, each offering unique visual and functional benefits. Decorative flakes, for instance, are small chips available in various colors that can be sprinkled onto the base coat to create a speckled, textured look. Not only do these flakes add visual appeal, but they also enhance slip resistance, making the floor safer.
Metallic epoxy is a popular choice for those seeking a high-end finish with an elegant shimmer. By mixing metallic pigments into the epoxy, installers create a swirling, three-dimensional effect that mimics natural stone or liquid metal. Metallic epoxy is often chosen for showrooms, retail spaces, and even residential basements, as it adds a luxurious, unique touch that standard flooring cannot achieve.
For a more industrial or rustic look, quartz sand or aggregate can be incorporated. This technique not only provides texture but also adds an extra layer of durability, making it ideal for outdoor areas, commercial kitchens, or spaces requiring high traction. The process of adding these elements requires precision and timing, as they must be applied while the base coat is still tacky. Afterward, the floor is left to set, allowing the design elements to integrate seamlessly into the surface.
Step 4: Applying the Top Coat
After the design elements have been added and the base coat has settled, it’s time to apply the top coat. The top coat is a clear, protective layer that seals the design, enhances durability, and provides a glossy or matte finish based on the desired look. This layer is typically made from clear epoxy or polyurethane, both of which are known for their resilience against scratches, stains, and UV exposure.
Applying the top coat requires a meticulous approach to ensure even coverage and avoid bubbles or imperfections. Installers carefully spread the top coat using rollers or squeegees, working systematically to maintain a uniform finish. The top coat not only protects the base and decorative layers but also contributes to the overall aesthetic of the floor. For spaces with heavy foot traffic, such as commercial buildings or warehouses, multiple top coats may be applied to enhance durability further.
In addition to providing a beautiful, polished appearance, the top coat fortifies the flooring against daily wear and tear. It acts as a shield, preserving the integrity of the epoxy and ensuring the floor maintains its original shine for years. This protective layer is essential in high-traffic environments, as it minimizes the risk of scuffs and stains while making cleaning and maintenance a breeze.
Step 5: Curing Time
The curing period is the final and critical step in the epoxy flooring process. While the epoxy may appear dry after 24 hours, it requires a full curing period of 48 to 72 hours to reach its maximum hardness and durability. During this time, it’s essential to keep the area free from foot traffic, dust, and moisture, as any disturbance can compromise the finish.
Curing allows the epoxy to bond fully with the surface, achieving a hardness that can withstand heavy use. The ambient temperature, humidity, and airflow can all impact curing time, with higher temperatures often speeding up the process. Some epoxy formulations may have different curing requirements, so adhering to manufacturer guidelines ensures the floor achieves its optimal strength.
It’s worth noting that the curing phase should not be rushed. While it may be tempting to use the floor sooner, allowing it to cure completely is essential for long-lasting results. Proper curing prevents issues like bubbling, delamination, or chipping, which can occur if the epoxy hasn’t fully set. By respecting the curing time, property owners ensure their new epoxy floor will provide a robust, durable surface that stands up to everyday demands.
Installing epoxy flooring is a meticulous process that demands careful planning, precise execution, and patience. Each step—from surface preparation to curing—is vital for achieving a high-quality, durable finish that enhances both the aesthetics and functionality of a space. Surface preparation lays the groundwork by ensuring proper adhesion, while the base coat and top coat provide the structural strength and protective seal needed for long-lasting performance. Design elements offer customization, allowing property owners to add a personal touch that elevates the space’s appeal. Finally, the curing period solidifies the floor, locking in its resilience and aesthetic.
While DIY kits are available, professional installation is often recommended, as it guarantees that every stage of the process is completed with expertise and precision. A professionally installed epoxy floor offers unparalleled durability, style, and ease of maintenance, making it a valuable investment for both residential and commercial settings. Understanding the installation process not only helps property owners appreciate the craftsmanship involved but also underscores the importance of proper technique in creating a flawless, lasting floor. Whether enhancing a garage, retail space, or industrial facility, epoxy flooring brings durability and beauty to any environment.


