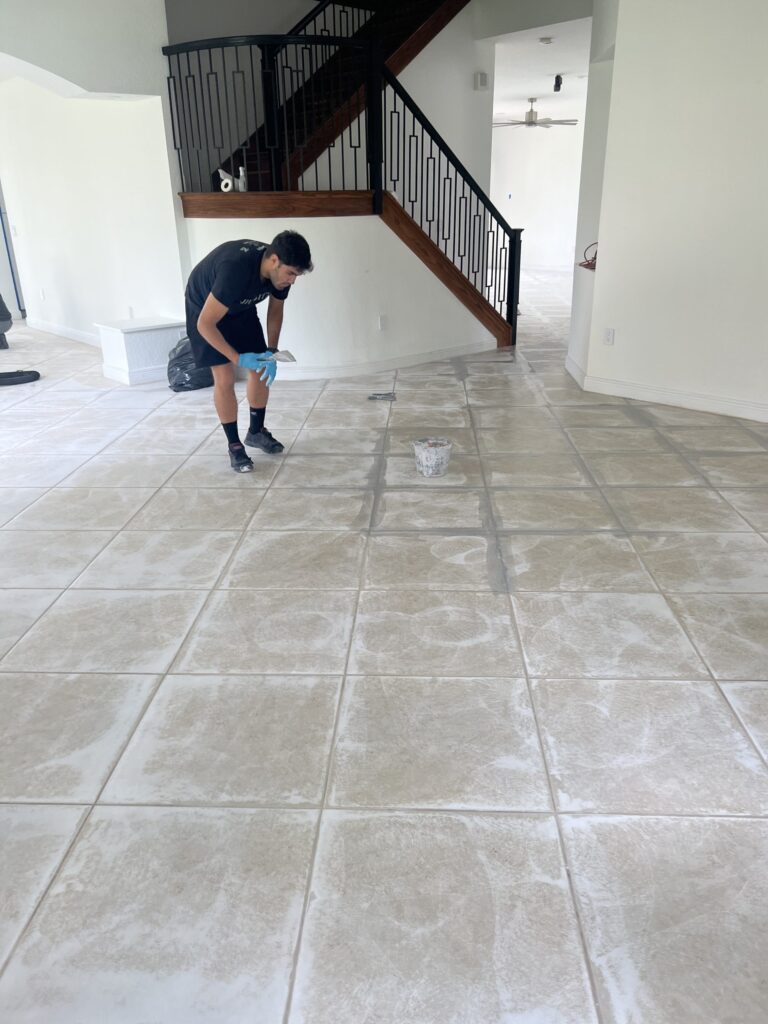
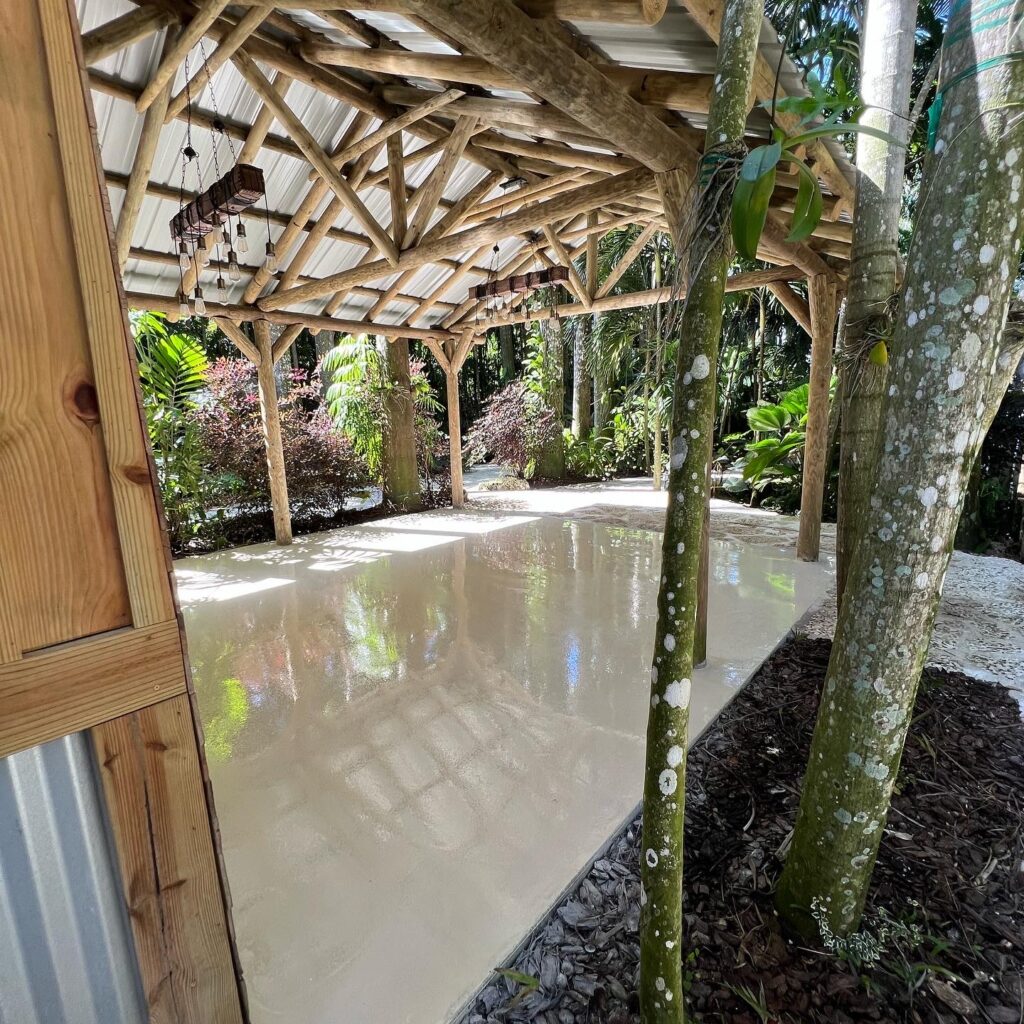
Proper preparation is the cornerstone of any successful epoxy flooring installation. While the allure of a sleek, glossy finish is what often draws people to epoxy flooring, achieving that look is far more involved than simply applying a coat of resin. The preparation phase is perhaps the most critical stage in the process, as it directly influences the longevity, durability, and appearance of the floor. A well-prepared surface ensures that the epoxy adheres correctly, providing a resilient and attractive finish that can withstand heavy traffic, chemicals, and other wear and tear. This guide outlines the comprehensive steps required to prepare your space for epoxy flooring installation, ensuring a flawless and enduring result.
Importance of Proper Preparation for Epoxy Flooring Installation
Epoxy flooring is renowned for its durability and aesthetic appeal. However, these benefits can only be fully realized when the flooring is installed over a meticulously prepared surface. If the preparation is inadequate, various issues can arise, including poor adhesion, bubbling, peeling, and a subpar finish. In some cases, improper preparation can lead to the complete failure of the epoxy coating, requiring costly repairs or replacement. Understanding the importance of preparation helps in avoiding these pitfalls and sets the stage for a successful installation that meets both functional and aesthetic expectations.
Overview of the Installation Process
The installation of epoxy flooring involves several stages, each of which requires specific preparation techniques to ensure optimal results. The process begins with a thorough assessment of the existing floor to identify any potential issues that might affect the epoxy’s adherence. Following this, the surface is meticulously cleaned, repaired, and treated to create the ideal conditions for epoxy application. The epoxy resin is then applied in multiple layers, followed by a curing process that solidifies the coating and locks in the design. By focusing on thorough preparation at each stage, you lay the groundwork for a durable and aesthetically pleasing epoxy floor.
Pre-Installation Checklist
Clearing the Space of Furniture and Obstructions
Before any preparation work can begin, the area designated for epoxy flooring must be completely cleared of all furniture, appliances, and other obstructions. This step is critical not only to provide full access to the floor surface but also to prevent any accidental damage to your belongings during the preparation and installation process. Moving everything out of the space allows for a comprehensive cleaning and inspection, ensuring that the entire floor is prepared adequately for the epoxy application.
In addition to removing larger items, be sure to check for any smaller objects or debris that might be hidden under furniture or in corners. Even small bits of debris can cause imperfections in the epoxy coating, leading to an uneven surface or areas where the epoxy does not adhere properly. Ensuring the space is entirely clear before beginning the preparation process is the first step toward a successful installation.
Assessing the Condition of the Existing Floor
Once the space is cleared, the next step is to assess the condition of the existing floor. This assessment involves a close inspection of the surface to identify any cracks, chips, or areas of unevenness. The goal is to determine the current state of the floor and identify any potential issues that could affect the adhesion or appearance of the epoxy.
Look for visible signs of damage, such as large cracks or holes, as well as more subtle issues like small divots or areas where the surface is not level. These imperfections must be addressed before the epoxy can be applied, as they can cause weak points in the coating or lead to a subpar finish. In addition to visual inspection, consider conducting a hardness test to ensure that the substrate is solid and suitable for epoxy application. If the floor is not structurally sound, additional repairs or reinforcement may be necessary before proceeding.
Surface Preparation Steps
Cleaning and Degreasing
Cleaning is one of the most critical steps in preparing a surface for epoxy flooring. Any dirt, dust, grease, or chemical residues left on the floor can prevent the epoxy from bonding properly, leading to adhesion issues and a compromised finish. Begin by thoroughly sweeping or vacuuming the entire area to remove loose debris. This initial cleaning helps remove larger particles that could interfere with the subsequent steps.
Next, use a high-quality degreaser or a specialized floor cleaner to eliminate any oil, grease, or chemical residues. Grease and oil are particularly problematic for epoxy installation because they create a barrier that prevents the epoxy from adhering to the concrete. Apply the degreaser to the floor and scrub thoroughly using a stiff-bristled brush or a floor machine with a scrubbing pad. After degreasing, rinse the floor thoroughly with clean water to remove any remaining cleaning solution. Allow the floor to dry completely before moving on to the next step, as moisture can also affect the adhesion of the epoxy.
Repairing Cracks and Imperfections
Once the floor is clean and dry, the next step is to repair any cracks, holes, or other imperfections. Even minor flaws can impact the overall appearance and durability of the epoxy floor, so it is essential to address these issues before the installation. Use a high-quality concrete patch or epoxy filler to fill in cracks and holes. Follow the manufacturer’s instructions carefully to ensure proper application and curing.
For larger cracks or areas of significant damage, consider using a two-part epoxy crack filler or a similar product designed for use with epoxy flooring. These products are specifically formulated to bond with both the concrete substrate and the epoxy coating, ensuring a strong and durable repair. After applying the patching material, allow it to cure fully according to the manufacturer’s recommendations. Once cured, sand the patched areas to ensure they are level with the rest of the floor, creating a smooth surface for the epoxy application.
Moisture Testing and Mitigation
Importance of Checking for Moisture
Moisture is a critical factor that can impact the success of an epoxy flooring installation. If moisture is present in the concrete, it can prevent the epoxy from adhering properly and cause issues like bubbling, blistering, or delamination. Therefore, it is crucial to conduct a moisture test before applying the epoxy to ensure that the substrate is dry and suitable for installation.
Methods to Address Moisture Issues
There are several methods to test for moisture in concrete, including using a moisture meter or performing a plastic sheet test. A moisture meter provides a quick and accurate measurement of the moisture content in the concrete, while a plastic sheet test can help identify moisture vapor emissions from the substrate. If moisture is detected, it is essential to address the issue before proceeding with the epoxy application.
One common method for addressing moisture issues is applying a moisture barrier or vapor barrier primer. These products are designed to create a protective layer that prevents moisture from reaching the epoxy, ensuring a strong bond and a durable finish. Another option is using a moisture-tolerant epoxy primer, which is formulated to adhere to damp surfaces and can help mitigate moisture-related issues. Regardless of the method chosen, it is crucial to follow the manufacturer’s instructions carefully to ensure proper application and performance.
Safety Precautions
Ventilation and Personal Protective Equipment
Safety should always be a top priority when preparing for and installing epoxy flooring. Epoxy resins, hardeners, and other chemicals used in the preparation process can emit fumes that are harmful if inhaled. Proper ventilation is essential to ensure a safe working environment. Open windows and doors, use fans to circulate air, and, if necessary, use a respirator to protect against inhaling fumes.
In addition to ventilation, wearing appropriate personal protective equipment (PPE) is crucial. Gloves, safety goggles, and long-sleeved clothing should be worn to protect against skin and eye contact with epoxy resins and other chemicals. In some cases, a respirator may also be necessary, particularly if you are working in a confined space or if the epoxy product being used emits strong fumes.
Handling of Chemicals and Materials
Handling chemicals and materials safely is essential to prevent accidents and ensure a successful installation. Always follow the manufacturer’s instructions for mixing, applying, and curing epoxy products. Be cautious when mixing epoxy resins and hardeners, as improper handling can cause chemical reactions that may be hazardous. Ensure that all tools and equipment are in good working condition and that you have access to the necessary safety data sheets (SDS) for all products used.
Proper disposal of waste materials, including empty containers and used PPE, is also essential to maintain a safe work environment. Follow local regulations and guidelines for the disposal of hazardous materials to ensure that you are disposing of these items properly and safely.
Preparing your space for epoxy flooring installation is a detailed process that requires careful attention to detail and adherence to best practices. From clearing the area and assessing the existing floor to cleaning, repairing, and moisture testing, each step plays a vital role in ensuring a successful installation. Proper preparation not only enhances the appearance and longevity of your epoxy floor but also prevents future issues that could compromise its performance. By taking the time to prepare your space correctly, you set the stage for a beautiful, durable floor that will stand the test of time.
Remember, the effort you put into preparing your space for epoxy flooring installation will pay off in the long run with a stunning, resilient floor that enhances the functionality and aesthetic of your space. Whether you are undertaking a residential renovation or preparing a commercial space for heavy use, following these steps will ensure a successful and long-lasting epoxy flooring installation.


